The Ultimate Guide to Background Noise Reduction

Getting clear audio recordings for podcasts, films, and online meetings requires removing background noise. This can be accomplished by eliminating the source of the background noise or by eliminating it post-facto using a background noise remover.
The first step is eliminating the source of the background noise – close windows, move away from vents, shut down programs that make your laptop fans whir, etc.
Recording in a Quiet Room
When recording audio, the best way to eliminate background noise is to record in a quiet room. This is why musicians often go to a studio with sound-insulated rooms to record their music. The same goes for filmmakers when they are shooting a scene with actors who are recording their lines.
If you do not have the budget to create a professional-grade recording space, there are things that you can do to reduce the amount of noise in your recordings. You can use a pop filter to reduce the number of plosives (p) and sibilances (s) in your audio, and you can also reduce ambient noise by using a quiet microphone.
Another option is to use an acoustic treatment on the walls of your recording space. This will help absorb sound waves that bounce off the walls and create echoes. You can also try to record at the quietest times of the day, such as in the middle of the night or early morning when people are sleeping, and traffic and birds are not chirping.
If you are still struggling to remove unwanted background noise from your recordings, there are software programs that can help. These programs can analyze your recordings to determine what noise is present and remove it.
Using a Quiet Microphone
It’s important to eliminate as much background noise as possible when recording audio. Unwanted sounds can distract listeners and reduce the quality of your recordings. There are several ways to minimize background noise, including changing your setup, improving your hardware, and downloading additional software. Depending on what your computer is equipped with, you can use the microphone boost or ambient noise reduction inside of Windows or your audio driver software.
While downloading software and changing your hardware may greatly improve your recording capabilities, ambient noises are often difficult to eliminate. Limit ambient noise sources by turning off electrical appliances and closing doors or windows before recording. You can also minimize the amount of physical movement around your microphone, as this can cause plosives and vibrations to be picked up by the mic.
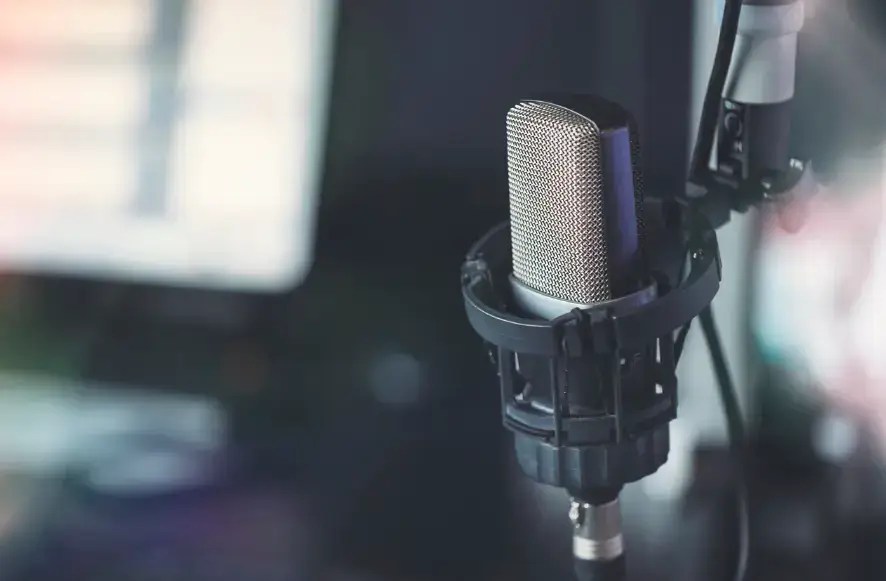
Using a pop filter and a shock mount can also help to prevent unwanted sounds from being recorded by your microphone. The lollipop-shaped attachments can eliminate impulse sounds, such as popping, while the shock mount helps to reduce vibrations and other unwanted sounds from the mic stand.
Using a Pop Filter
A pop filter eliminates plosive sounds, the explosive blasts of air that hit a microphone’s diaphragm during consonant sounds like P and T. These sounds are annoying in recordings and can produce distorted or low-airy-sounding voices. Although pop filters are optional for all recording situations, they’re essential for vocal recordings. They provide confidence that those miraculous takes where the singer gets carried away and sings beautifully will be recovered to technical problems like plosives.
A pop filter has a mesh screen that catches and disperses these sudden rushes of air, keeping them from reaching the microphone and causing popping noises in the recording. It also reduces sibilance, the hissing sound caused by air passing through your teeth during consonant sounds such as S and Z.
There are two main types of pop filters: nylon and metal. Nylon pop filters are typically made from a soft material such as nylon, which is stretched tight over the filter’s frame and works by absorbing the blasts of air. They’re less expensive than their metal counterpart but are more difficult to clean and tend to cut off high frequencies in the recorded voice.
Metal pop filters consist of a thin sheet of metal stretched tight over the filter’s frame. They’re more costly than nylon pop filters but easy to clean and retain high frequencies. Both types of pop filters work well, so the type you choose will depend on your budget and recording style.
Recording Techniques
There are some real-world changes that you can make to your recording environment to help reduce background noise. These include using microphone placement techniques, eliminating or turning off ambient noise sources, and installing soundproofing for your studio.
Audio engineers classify all the clicks, pops, and crackles you hear on certain recordings into a broad category called impulse noise. This can include plosives from consonant sounds or the loud crackle when you plug in an audio cable.
High-pass filters can cut low rumbling noises and other frequencies that don’t carry much speech energy. They are also useful for reducing broadband noise over a wide range of frequencies.
Avoid using self-noise devices such as fans, refrigerators, or air conditioning units during recording and video meetings. Closing windows will also help to reduce unwelcome ambient noise. If a background noise interrupts you during recording or an online meeting, try to pause the recording and address the issue in your editing software later.
